Learn How to draw Skulls Quickly & Easily!
Some folks claim that kids shouldn’t be drawing scary things like this, but I personally think that’s quite alright. So, that is exactly why in this fine tutorial we’ll discuss how to draw skulls. Now, even though it’s cartoon-style, there’s still a lot you’ll be able to take away from this video. Arm yourself with a pencil and let’s take care of the basic shapes first (00 min 05 sec).
First of all, we’ll need a circle in the middle of the paper for our future skull. The next step is a primitive “U” shape for the jaw (00 min 15 sec). Once you’re done with that, move on to the cheekbones on both sides (00 min 24 sec). This one’s going to be a bowl shape that stars approximately in the middle of the circle and overlaps a bit with the top of the jaw (00 min 31 sec).
These are simple shapes, but make sure to be accurate with them. The next step of our how to draw skulls tutorial are the eye sockets (00 min 34 sec). Basically, they’re just two circles on top of that U shape. The best way to describe the nose is a teardrop (00 min 51 sec). The teeth are the easiest part of this guide. After that, connect the cheekbones to the teeth and finish the jaw (01 min 14 sec).
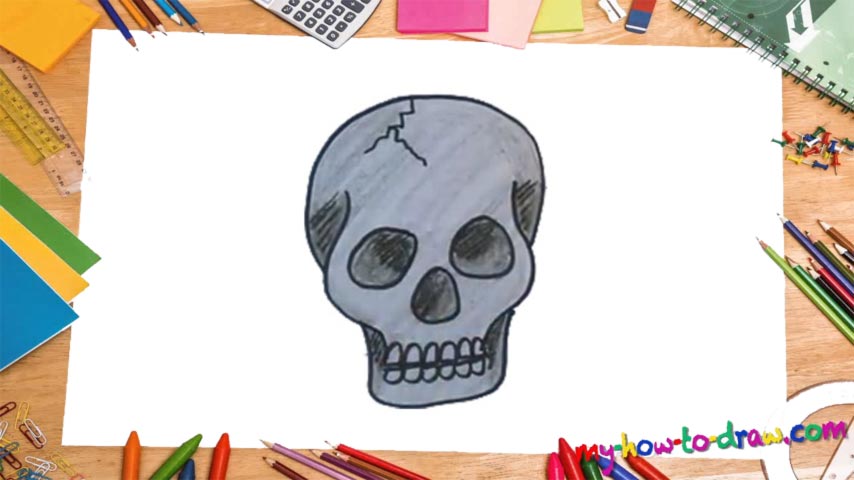
Don’t forget about the crack at the top (01 min 28 sec). Alright, now it’s time for the final stage of this how to draw skulls tutorial – the permanent marker (01 min 38 sec). Follow the video and accentuate the lines that you want to keep in the final drawing. Erasing the pencil is quick and fun (02 min 00 sec). For shading, you can use black crayon (02 min 08 sec). Once you color it, you’ll be done (02 min 32 sec)!
Before you learn how to draw Skulls, did you know?
If you’re a fan of fantasy books, comic books, and/or video-games, then you probably want to learn how to draw skulls. They look cool, scary, and take some skills to make. So, let the video tutorial guide you and take your time with it.