Learn How to draw Graffiti Quickly & Easily!
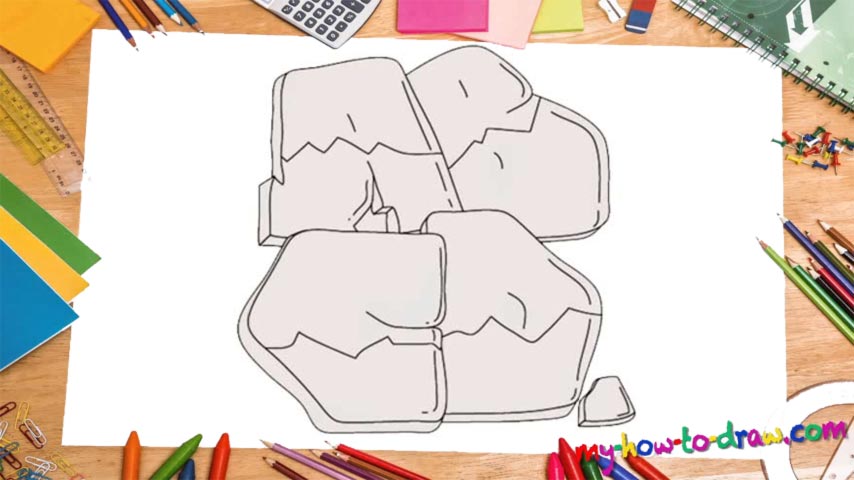
We’re dealing with a rather simplified thing here and have divided the drawing into four parts to make it even easier for you. It looks like a combination of four “stones”, and we start this how to draw Graffiti tutorial with the left one that looks like a “G” (00 min 05 sec). The stone right next to it is a “D” (00 min 09 sec). The ones on top are just as easy and also look like letters (00 min 16 sec). The top right stone is a “B”, while the left one is an “A”.
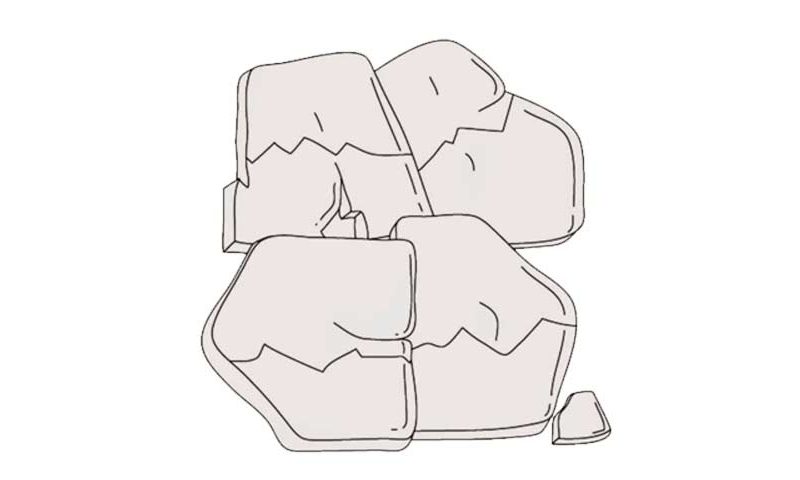
Don’t forget about that tiny stone in the bottom right corner (00 min 25 sec). Ok, now it’s time to prove that these aren’t just a bunch of letters and that we are, indeed, dealing with street art (00 min 30 sec). Draw those irregular horizontal lines through the middle of every single stone. Then, add those curvy lines to the right to make them all look 3D (00 min 33 sec). There’s nothing to it: just follow the video and you’ll be fine!
The last step of this how to draw Graffiti tutorial are the lines to the left and at the bottom that will help you strengthen the illusion of the letters/stones being in 3D (00 min 40 sec). That’s actually it, ladies and gentlemen! Use this video lesson as a starting point and further improve your skills if you’re a fan of this style.
Before you learn how to draw Graffiti, did you know?
Street art used to be something illegal, a thing known only to a very small number of people. These days, the situation is entirely different. Over the years, it managed to turn into an important part of our culture, especially when it comes to the younger generations.
And Graffiti is something that you can’t imagine street art without. The kids use their sprays to create truly inspiring images on the walls in every single city around the world. This isn’t an art that you can master in a day or a week. It requires years of dedication and hard work!