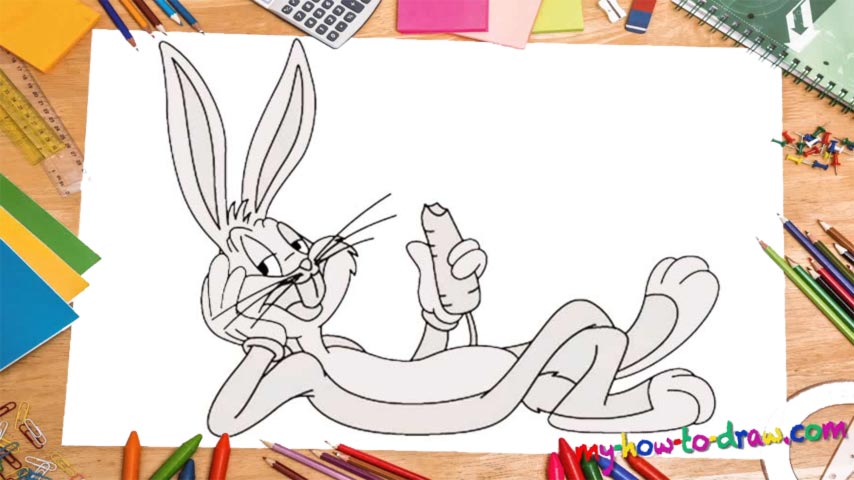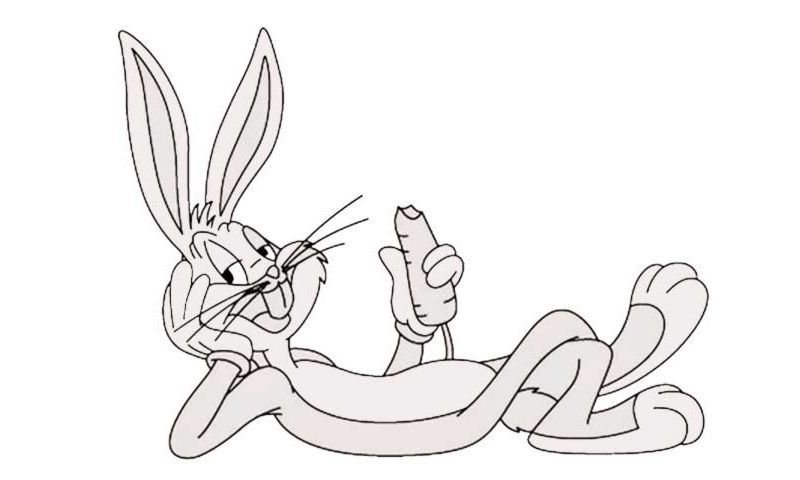
Learn How To Draw Bugs Bunny Quickly & Easily
Even though this is a cartoon character we’re drawing, the composition is pretty sophisticated, especially when it comes to getting the sizes and proportions right. So, start by creating some basic outlines for the body, the legs, and the head (00 min 04 sec). He’s got one leg hanging over the other one, and that’s the next step in this how to draw Bugs Bunny tutorial (00 min 12 sec). The feet are pretty huge, by the way.
Bugs is holding a carrot in his hand (00 min 16 sec). The other one is holding his head. The most important thing here is to get the angle right. Watch the video closely and create a similar shape that connects the palm with the body (00 min 25 sec). Ok, if everything’s nice and solid, let’s move on to the face (00 min 30 sec). Bugs has big eyes and an even bigger tooth – his trademark look.
Once you master this part of the how to draw Bugs Bunny tutorial, you’ll be almost done. The super-long ears are very simple and will take only a minute to complete. Same goes for his adorable whiskers (00 min 42 sec). See, that wasn’t that hard! But if you’re still struggling with some elements, makes sure to go back and “nail” them – that’s the only way to achieve greatness!
Before you learn how to draw Bugs Bunny, did you know?
First introduced in 1940, this overzealous and overachieving bunny conquered the world with his entertaining short films. During the Golden Age, he was one of the greatest cartoon characters to ever walk the Earth and became something of a cultural phenomenon.
Warner Bros. even turned him into their mascot. Careless and impudent, this rabbit isn’t afraid of anything and is ready to clash with the bigger and stronger animals in the ‘hood. That turned him into the most “active” cartoon character with more appearances than Donald or Mickey!