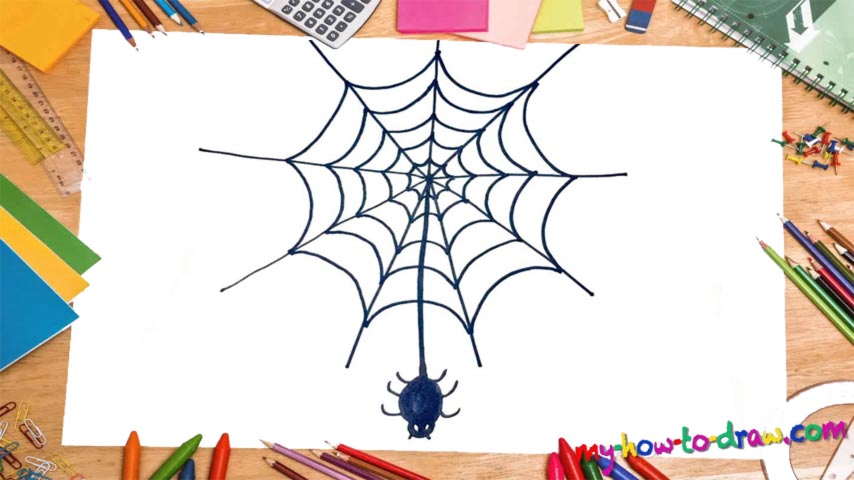
Learn How To Draw A Spider’s Web Quickly
Even though it might look sophisticated, there’s nothing hard about this web, as it consists of several identical parts. So, follow my lead in this how to draw a Spider’s Web manual and create a star with nine “sides” like you see in the video (00 min 15 sec). It should sit in the middle of the paper. Once it’s in place, it will be time to take care of the first “level” (00 min 43 sec).
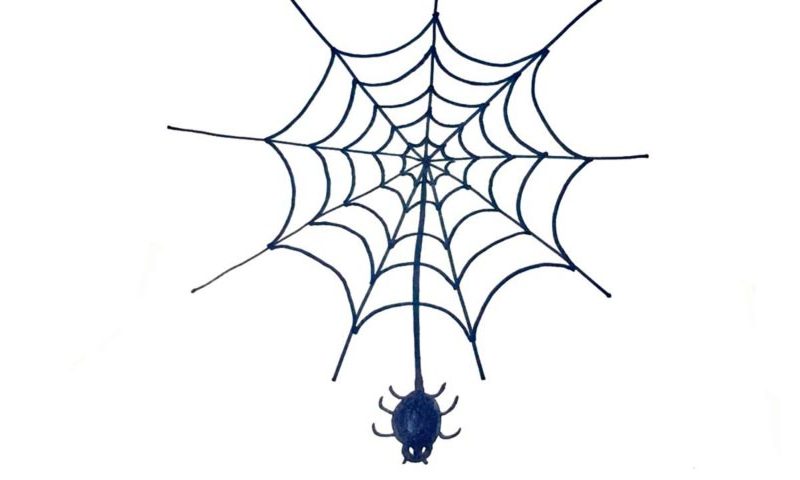
It consists of similar-looking curves connecting the lines we just added to each other. Might resemble an umbrella right about now, but that’s totally ok. Create another level just like it but make it smaller, moving closer to the center (01 min 08 sec). We’ll need three more to complete this part of the how to draw a Spider’s Web tutorial.
Looks like the real thing doesn’t it? Wait, we’re not done yet. To finish this guide, we’ll need to add the spider at the bottom. Create a vertical line that starts in the middle of the web (02 min 05 sec). The insect is holding on to it in the lower corner (02 min 15 sec). The shape is very basic: color the body black and draw three tiny curves on each side for the legs.
Before you learn how to draw A Spider’s Web, did you know?
Spiders aren’t to be messed with. These intelligent insects have strength, speed, and, above all, patience. Sometimes, it takes a spider up to a week to catch its prey, but it never rushes into anything. The ability to create the sticky web and entrap other insects is truly amazing. I bet you’ve seen how spiders sit in the middle of their web and control it.
It takes a lot of work for tiny creatures like that to stretch all those lines and to put them together. However, since they don’t really know how to hunt any other way, this is what they do best, perfecting the art for many years. Today, humanity knows of at least 45,7K spider species living on planet Earth. That’s quite an unbelievable number, isn’t it?