Learn How To Draw A Camel Quickly & Easily
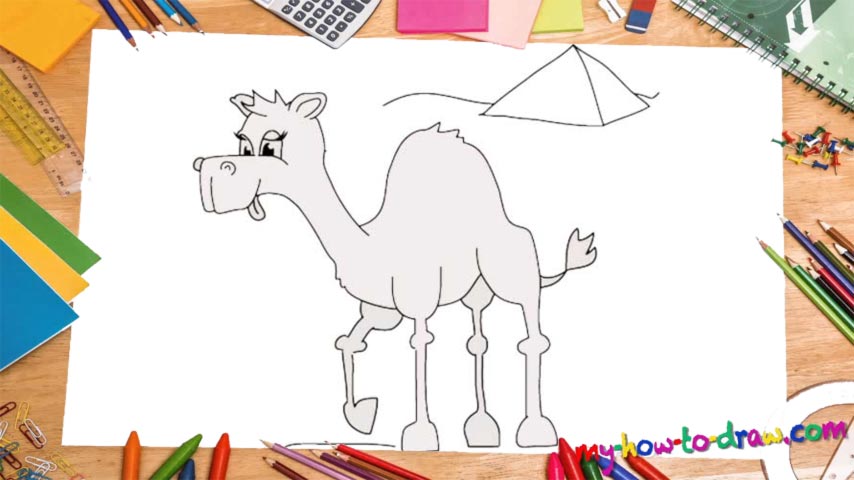
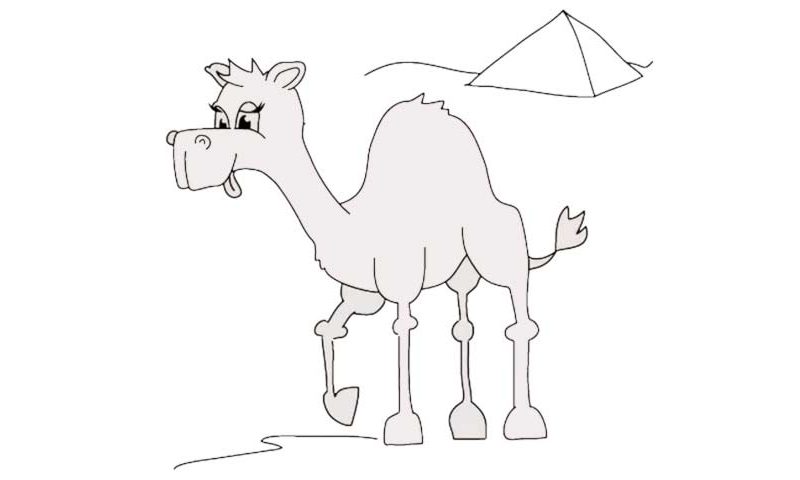
What you say we start with the face (00 min 04 sec)? It’s pretty rough in the front and becomes more curvy and smooth once we move to the right in this drawing. The mug looks like a fist, doesn’t it (00 min 12 sec)? Put two tiny circles on its edge for the nostrils (00 min 16 sec). The eyes sit on the right side (00 min 20 sec). Ok, now we can get to the fluffy parts of the how to draw a Camel tutorial.
I’m talking about the ears and that hair on top of its head (00 min 30 sec). For a nice transition to the body, use a simple line just like I did (00 min 35 sec). As for the hump, you’ll need a curve that looks like a hill or something like that. It should be almost as tall as the head. And now we get to the legs, dear friends (00 min 48 sec). You’ve got four in total, and they’re all the same, except for the one in the front that’s bent.
There are three “levels” to each leg, the next step in this how to draw a Camel tutorial: the foundation, the short and thin part, and then, of course, the hooves (01 min 00 sec). As I already mentioned, the front leg is a bit different (01 min 32 sec). Connect the bottom of the body to the head to complete this drawing. The tail, the tongue, and the eyelids are a piece of cake (01 min 44 sec). Don’t forget about the tent (02 min 07 sec).
Before you learn how to draw A Camel, did you know?
Camels are incredible creatures that can survive the heat of the desert and eat thorns without even breaking a sweat. They are one of the first things that come to mind when we think about the Middle East, especially Egypt, Pakistan, Africa, and the Asian region.
Overall, there are three living species on the planet, with the wild camels being engendered. The “classic” camels have one hump on their backs, while the so-called Bactrian species comes with two. They live for 40-50 years and reach two meters in length.