Learn How to draw Wolverine Quickly & Easily!
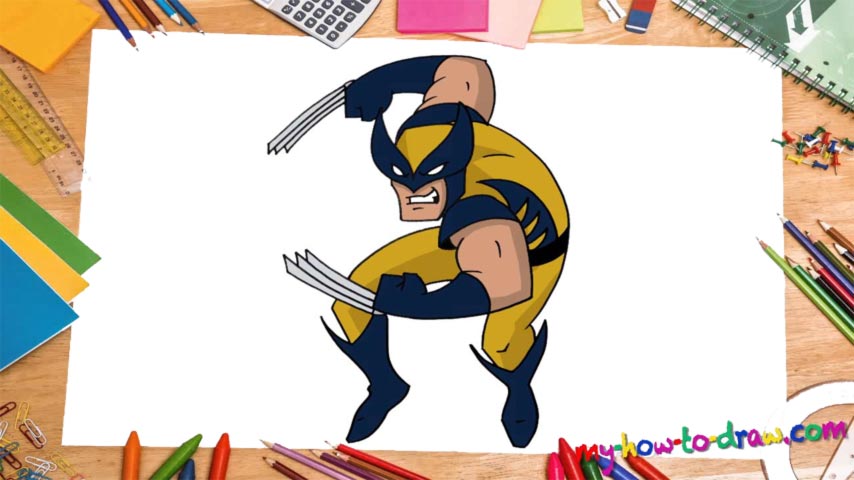
Ok, let’s get right to it. Start at the top of the paper and draw the mask (00 min 16 sec). It’s going to take you two identical curves turned upside down to make an exact match of my shape. The next step of this how to draw Wolverine tutorial are the eyes (00 min 30 sec). They’re pretty tiny and give that angry-yet-determined look.
The mouth must be located directly below the mask (01 min 33 sec). I can’t accentuate how important it is to get this right because the mouth and the eyes are the heart of this composition if you will. Thankfully, it’s quite easy to draw and won’t cause you any problems. Once you’re done with it, move on to the face (02 min 10 sec).
The right arm (or, rather, the shoulder) should start just where the face ends (03 min 28 sec). Now, remember that Logan is a superhero, so, make those muscles look good! The fist is simple as you only see two fingers. In order to make the blades look sharp and fearsome, use straight lines (04 min 19 sec).
That’s one of the most important things to keep in mind during this how to draw Wolverine tutorial. If you’re happy with the right arm, move on to the left one. It begins at the top of his head, by the way (05 min 20 sec). A series of overlapping curves will get you there. Follow the video closely if you can’t get something right. Everything is quite intuitive and simple, though.
The blades on this one are almost identical to those we drew a couple of minutes ago (06 min 16 sec). Next, draw a curse from the bottom of his upper hand all the way down (06 min 41 sec). Wolverine’s belt is easy (07 min 03 sec). As for the legs, they’re almost identical, but you will have to spend some time to get the proportions and the angles right.
Before you learn how to draw Wolverine, did you know?
Without a doubt, this is one of the most famous and fan-favored Marvel heroes. He’s featured in too many comic books to count and is the leader of the X-Men. Wolverine always looks pissed, so, make sure to keep that in mind while drawing him!