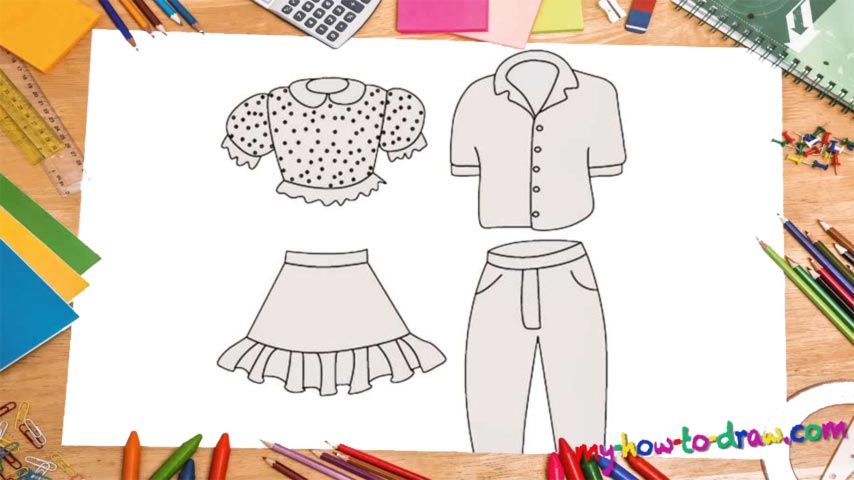
Learn How To Draw Clothes Quickly & Easily!
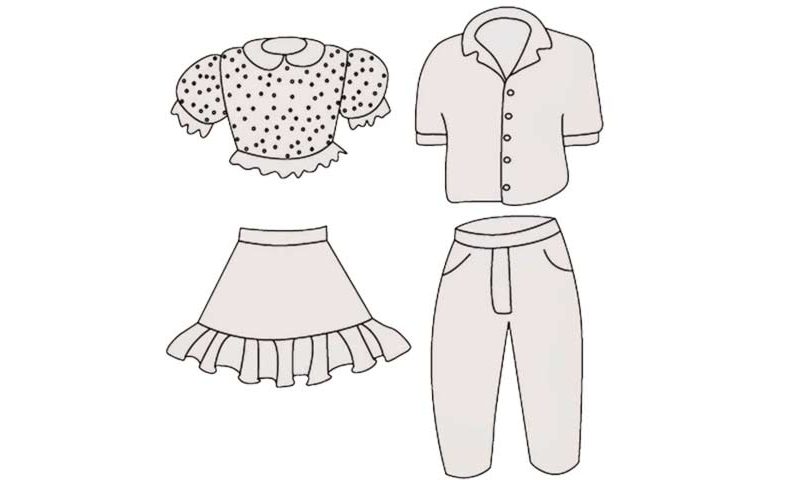
We begin with the top of both clothes (00 min 05 sec). For the lady’s outfit, create a simple oval. The fella’s clothing consists of separate parts – a curvy line and a triangle-like shape. The next step in this how to draw Clothes tutorial is, again, easy for the left side: you’ll need the belt in the middle of the paper and more details up top.
For the right side, add a curve for the neck and move down to the pants (00 min 08 sec). The belt is a bit longer but thinner than the one on the lady’s dress. The rest is pretty straightforward: just take a look at your own pants for inspiration. If everything looks good, complete the T-shirt on the right and use two simple shapes for the girl’s lovely skirt and dress (00 min 14 sec).
Don’t forget about the man’s sleeves and the pockets for the pants (00 min 18 sec). The skirt is quite stylish with those “ribbons” at the bottom. The dress comes with “fluffy” sleeves (00 min 25 sec). Ok, we’re almost done with this how to draw Clothes tutorial. All that’s left to do is put a number of buttons on the man’s T-shirt (five in total). And add all those tiny dots on the woman’s dress to make it look more realistic (00 min 30 sec).
Before you learn how to draw Clothes, did you know?
We don’t really pay attention to our clothes unless we’re big fans of fashion. They are just a necessary part of our life, meant to keep us warm and happy. But there’s an enormous industry out there, and it’s been around since the very first day we came to this planet.
These days, fashion designers are considered to be rock stars, and people spend fortunes on their latest collections just to brag to their friends. Over the years, our tastes and demands have greatly changed, and many clothes from the past look ridiculous today.