Learn How to draw Superman Quickly & Easily!
Who doesn’t want to be as cool as this guy? He can fight, run almost as fast as The Flash and fly to another planet in a matter of seconds. Today we’ll learn how to draw Superman quickly and efficiently. Let’s start with the left eyebrow (00 min 10 sec). The eye itself is pretty tiny and is basically one line and a super-small dot on top of it.
The nose is also very primitive: draw a straight line coming down and tilting to the right (00 min 48 sec). The right eye is almost an exact copy of the left one. This whole simple-yet-awesome style is also true for our superhero’s mouth (01 min 29 sec). You’ll handle it even if this is your first time drawing.
It’s very important to get the next stage of this how to draw Superman manual right – the face (01 min 58 sec). It should be pretty “rectangular” to depict the hero side of Clark. At the same time, make it look as human as possible. His world-famous hair comes next (03 min 25 sec). Again, nothing fancy. If you’re happy with what you’ve got so far, move on to the neck (03 min 50 sec).
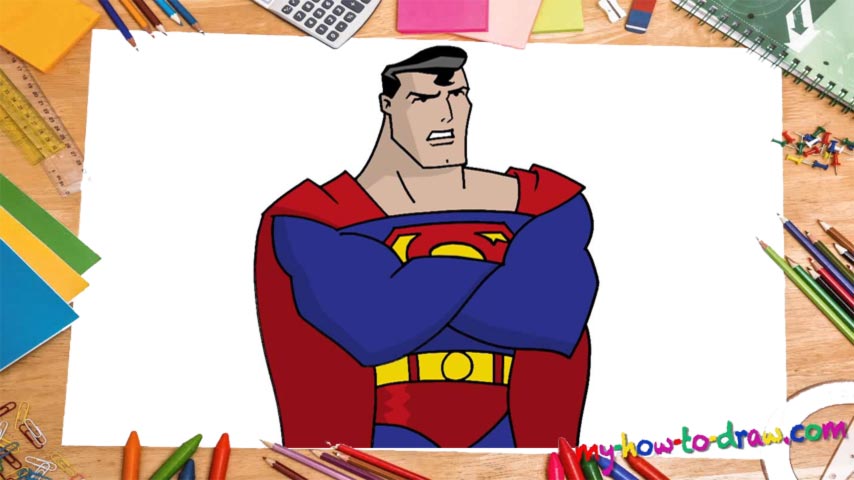
You might think that it’s way too thick, but come on, this is the Man of Steel! The shoulders are also very strict, as opposed to being curvy, which adds more to this brutal image we’re going for (04 min 23 sec). The arms in this how to draw Superman tutorial are very big. If you think they’re way too huge, you may downsize them a bit. But I wouldn’t recommend that, actually.
Make sure the proportions are right and start drawing both arms at the exact spots on the shoulders. Once you put the “S” on his chest, you’ll know it’s Superman. The final step is to add the cape (07 min 41 sec). Wait, don’t forget about the belt right below his arms :).
Before you learn how to draw Superman, did you know?
The last son of Krypton and one of the greatest superheroes to ever live. Superman is a true legend and is practically undefeatable. The only thing that can kill him comes from his home planet. A leader, a good-hearted person and a great role model, he lives to serve the Good Cause.