Learn How To Draw A Sport Car Quickly & Easily
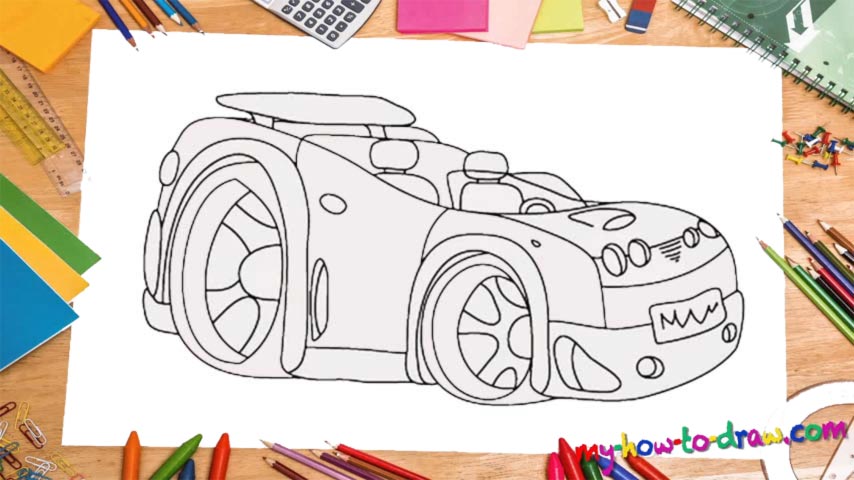
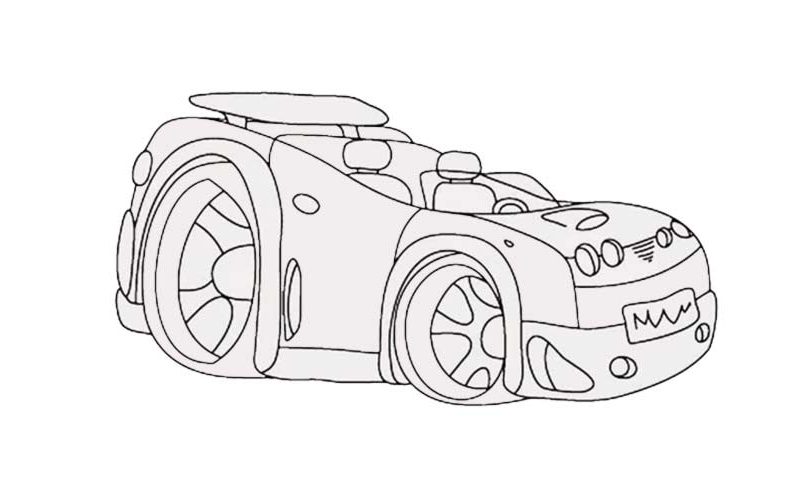
This is quite a sophisticated drawing: it’s in 3D, and we’ll need to get the perspective right. So, I suggest we put the frame in before getting to the rest of it (00 min 05 sec). The lower part of the front bumper and pretty much the entire left side come first. Once those are in place, proceed with the how to draw a Sport Car tutorial and add the wheels along with the lights on the front side (00 min 16 sec).
If you’re happy with everything so far, and every single element is exactly where it belongs, go ahead and draw a huge line to complete the body of the vehicle (00 min 25 sec). Make sure the curve is extra smooth and round to accentuate the fact that this is a sport car. Next, add the lights in the top level and keep working on the tires (00 min 30 sec). The hardest part is done; all that’s left to do now is finish this how to draw a Sport Car tutorial.
Create the spoiler in the far left corner (00 min 35 sec). Then, work on the fancy seats and the steering wheel. This is the last step in our video guide. The only thing left to take care of are the tires (00 min 55 sec). Go ahead and do that using two half-circles.
Before you learn how to draw A Sport Car, did you know?
If you’re a man, then we don’t need to explain to you why sport cars are cool – they simply are! Fast, flexible, and with looks that can kill, they are every single fella’s dream. They come in different shapes and sizes to satisfy the needs of even the most demanding buyers.
From a practical point of view, these cars are worthless: they have only place for two, a very tiny trunk to store your things, and a ridiculous “hunger” for fuel. But that doesn’t really matter when you feel your heart beating like crazy while behind the wheel of a sport car.