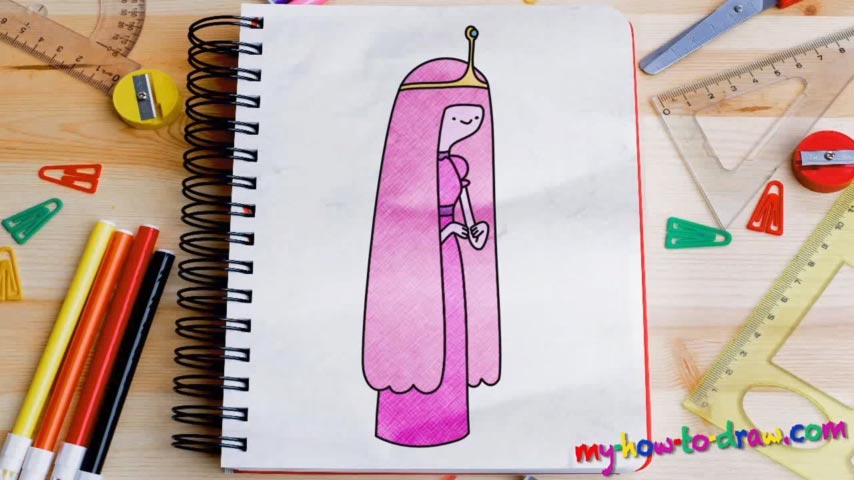
Learn How to draw Princess Binnibel Bubblegum Quickly & Easily!
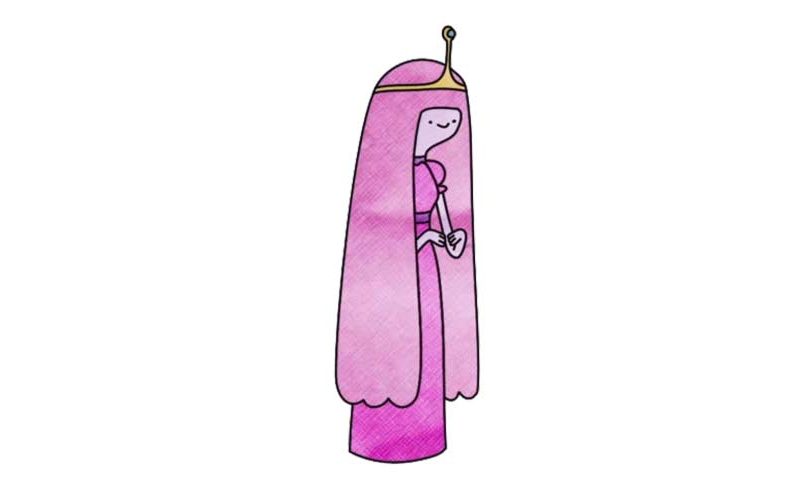
Before we begin, make sure your piece of paper is placed right and you’ve got a pencil with dark strokes in your hands. Got that all covered? Good, then let’s learn how to draw Princess Binnibel Bubblegum! The crown on top of her head comes first (00 min 26 sec). Next, draw two super-long vertical lines for the princesses-only clothing (00 min 58 sec).
It’s actually very simple. If everything looks good, move on to the cute face (01 min 20 sec). Those tiny dots are the eyes, while that curve represents her mouth. That’s actually it for the face! The hands are also quite simple and you’ll be able to nail without any confusion and/or frustration (01 min 39 sec). Next, use a straight and long line to cover the bottom of that dress (02 min 40 sec).
All that’s left to do now is go back to the crown and draw the other side of this majestic dress. That wasn’t hard, now was it? As far as the colors go (the final stage in our how to draw Princess Binnibel Bubblegum tutorial), you’ll need yellow for the crown and different variations of pink for the face, the hands, and the clothes – nothing more.
Yes, you can and probably should try different combinations. At the same time, you’ll lose some of that initial charm and your character won’t look exactly like the one from the cartoon.
Before you learn how to draw Princess Binnibel Bubblegum, did you know?
This mysterious girl is a kind, loving, and caring princess. AKA P-Bups, she’s got a brilliant mind and spends every single day trying to come up with all kinds of new inventions. As the ruler of the Candy Kingdom, she’s got certain responsibilities.
One day, a rivaling king managed to throw her off that throne and take her place. But, thanks to a nation-wide rebellion, the false king was banished and the princess went back to her regular duties. P-Bups looks like a 19-years-old girl but has been around for much longer.