Learn How To Draw Glass Quickly
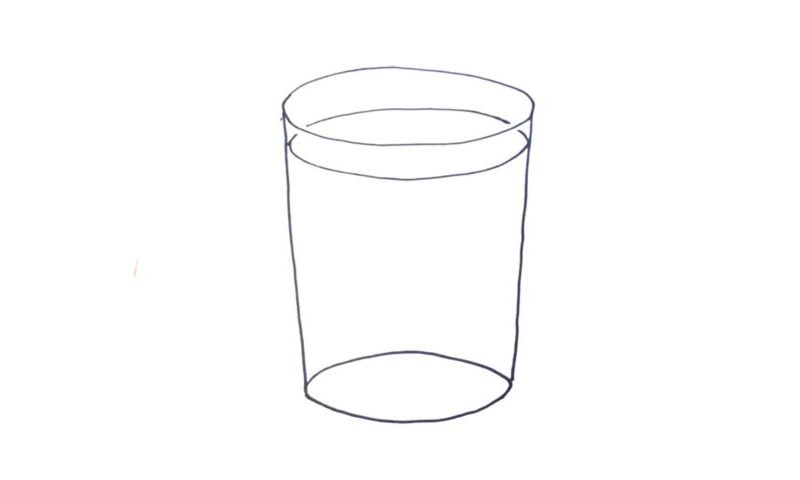
Start at the very top of the drawing by adding a huge horizontal oval (00 min 06 sec). After it’s in place, go ahead and create two vertical lines on both edges, the next step in this how to draw Glass tutorial (00 min 15 sec). They should almost touch the lower corner of the paper. Make sure they’re not super-straight but rather titled to the sides a bit.
The bottom of the cup is also “locked up” by an oval (00 min 25 sec). However, it’s a bit narrower, as there’s less space because of the angle of the lines. All good? Ok, we’re pretty much done with this video guide, as the result resembles the real thing a lot. But wait, where is the water? Or maybe it’s an empty glass? You can finish the lesson right now; the rest just follow me and let’s complete this how to draw Glass tutorial.
Go back to the top of the drawing and add another circle that copies the glass’s shape (00 min 33 sec). That way, you’ll create the illusion that it’s almost full of some kind of liquid. If you want it to be Coca-Cola or coffee, then it should be colored black.
Before you learn how to draw Glass, did you know?
This material is used in many industries, and without it, life would’ve been much harder. For us, the regular men and women, glass is associated with windows and cups. Have you ever heard the expression – “I want to have a glass of water”? Yes, we’re using that word to describe a cup made of this material.
As you can already judge from the preview, this is one of those relatively easy tutorials that don’t come with any complex parts. All you’ll need to complete this lesson are a couple of straight lines and a couple of curves. Still, it’s an important step towards artistic greatness; so, treat it as a vital step in your career!
