Learn How to draw Minecraft Steve Quickly & Easily!
This is a very simple character, with primitive shapes and lines. And that’s a good thing! Start with a rough sketch (00 min 25 sec). You’ll need a 3D square in the top corner; add a long and narrow rectangle right below it (00 min 52 sec). Once those are in place, move on to the next stage of this how to draw Minecraft Steve tutorial – the legs and the hands (01 min 10 sec).
Again, basic shapes are all you’ll need for this. If everything looks good and you are ready to move on with your drawing, switch to dark strokes and let’s get to it. So, go over the big square shape we just created and make sure the lines are extremely smooth and accurate (02 min 24 sec). The eyes, the nose, and the mouth come next (03 min 26 sec).
They are probably the easiest part of our how to draw Minecraft Steve guide. Basically, you’ll need four small and one big rectangular shape. Happy with what you’ve got so far? Then take care of the right hand (05 min 32 sec). You’ll just have to make the lines smoother and more pronounced. Same goes for the right one (06 min 10 sec). After that, complete the body and move on to the final stage – the legs (07 min 25 sec).
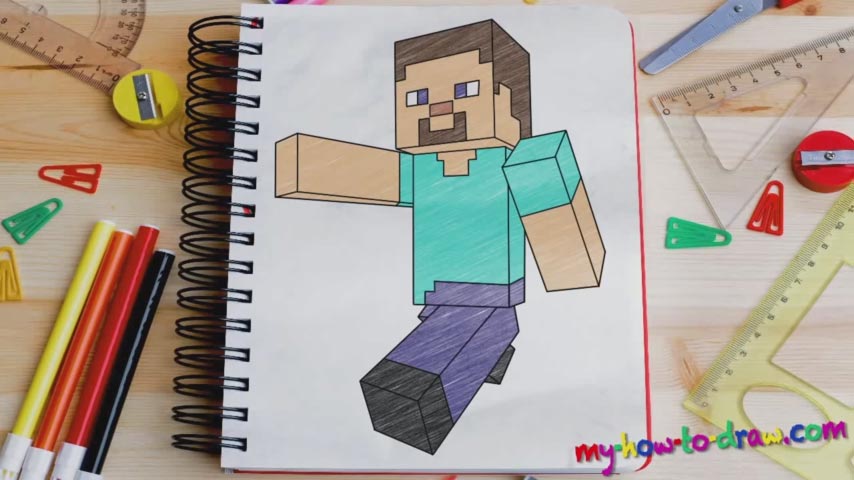
And that’s pretty much it! As always, get rid of the light strokes at the very end to get a clean, good-looking drawing (08 min 46 sec). As far as painting goes, the classic combination of dark blue, light blue, yellow, brown and black will look great. Or you can just go ahead and experiment with all kinds of crazy combos.
Before you learn how to draw Minecraft Steve, did you know?
This guy doesn’t have any special abilities, talents, or anything like that. His story is not interesting, and it’s safe to say that Steve is just another regular fella trying to make it in the world of Minecraft. You, the player, are the one giving him orders, and together, you can achieve greatness!