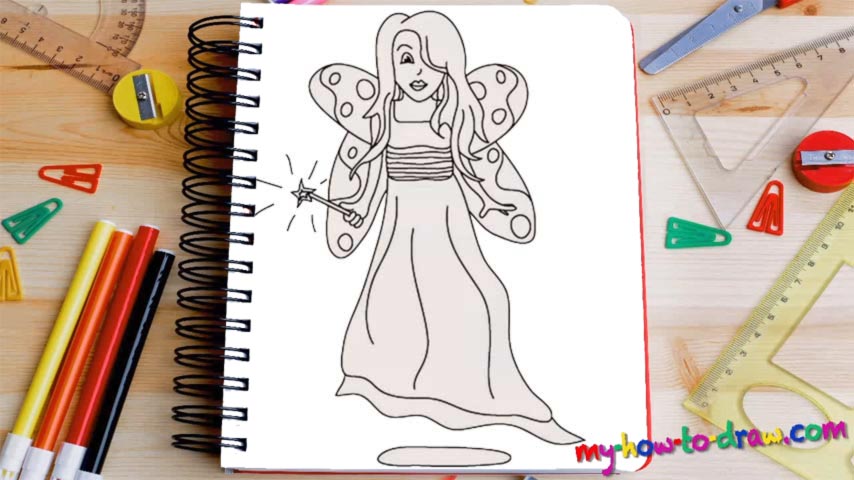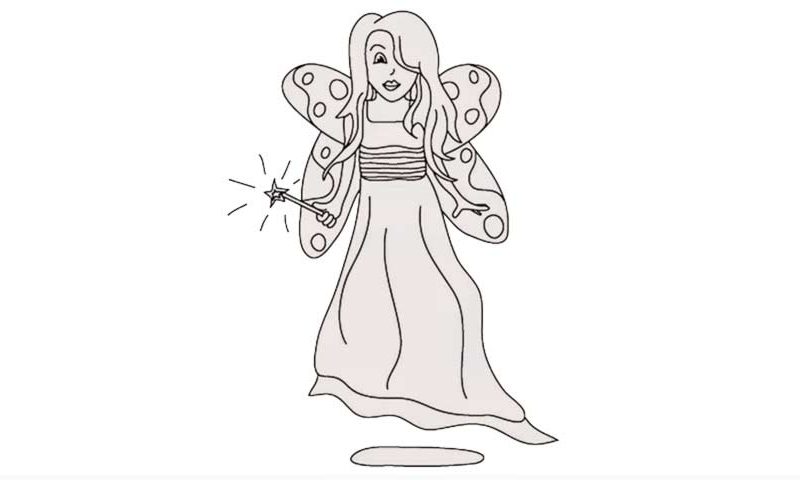
Learn How to draw Fairies Quickly & Easily!
Please keep in mind that even though this video lasts less than a minute, that doesn’t mean it’s easy. As a matter of fact, this how to draw Fairies tutorial is pretty solid and the final result looks awesome. It’s just that we decided to fast-forward the whole process for you. The idea is to start with the hair (the curls ) and the jaw (00 min 05 sec).
Once those are in place, use simple lines to add the mouth, the nose, and the left eye (00 min 15 sec). That super-long and curvy line we drew in the beginning covers the entire face and shows you exactly where the features should sit. Continue working on the hair until it looks exactly like in the video. You don’t have to follow me 100%, but do try to create a realistic image of the girl’s hair. And before we go into the final stage of this how to draw Fairies tutorial, just add some basic outlines for her dress.
It reaches the very bottom of the paper. Those butterfly wings aren’t hard to create (00 min 24 sec). You’ll need four oval shapes coming out of her back. That texture is a bit tricky, though. See that magic wand in her hand? It comes next. Make sure the hands are of equal length (00 min 36 sec). To complete this drawing, put in those vertical lines at the bottom of the dress and the horizontal ones at the top.
Before you learn how to draw Fairies, did you know?
We see these wonderful creatures in the majority of fantasy books, movies, and TV shows. Fairies mostly come from the rich and influential European folklore and are known all over the world. You could call them the kind spirits of the universe.
Supernatural and without a physical body (there are some rare exceptions, though), these young women are the messengers of the angels and do everything in their power to help the valiant princes, princesses and the knights to be successful in their quests.