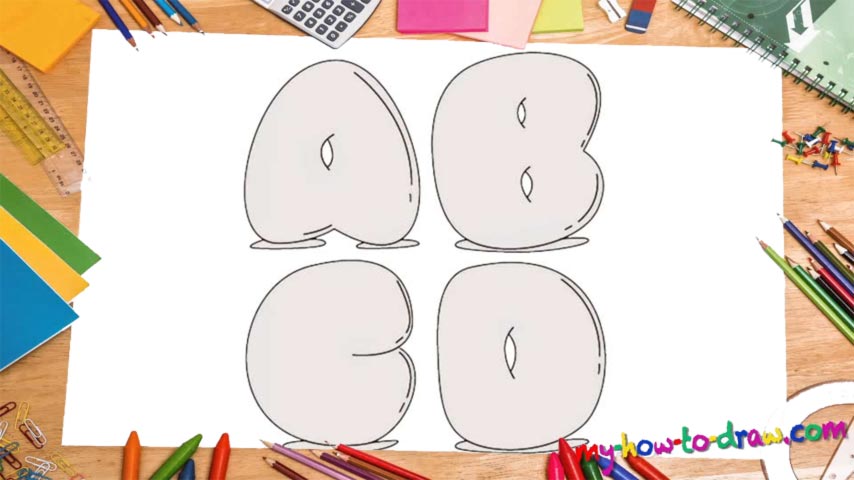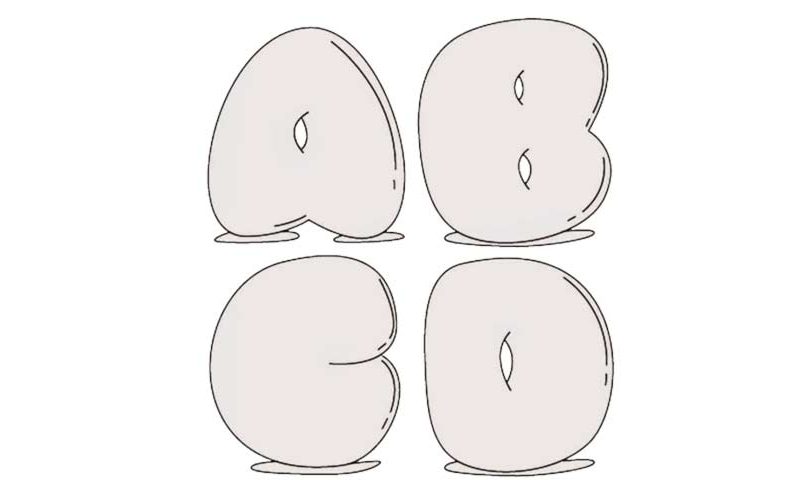
Learn How To Draw Bubble Letters Quickly & Easily!
Just like all the other “writing” videos on our website, this one’s equally fun and easy. We’ve got four letters, and the A in the top left corner comes first (00 min 05 sec). It looks a lot like a dinosaur’s egg. The B is even simpler and resembles some cookies from the 70s/80s (00 min 08 sec). The C, the next step in this how to draw Bubble Letters tutorial, looks almost exactly like the B (00 min 12 sec).
Basically, it’s the same and has a short horizontal line to the right. The D is the last letter in this video guide and is very intuitive (00 min 18 sec). Ok, now that everything’s in place, let’s start adding details. You’ll need to create a series of C-like curves (one for the A, two for the B, and a tall one for the D). Next, do the same but make the curves a bit smaller and facing the other side (00 min 25 sec).
The final stage in this how to draw Bubble Letters tutorial will make the whole thing look, well, bubbly. Follow me in the video and do exactly what I did. And before you leave, don’t forget to draw those tiny puddles below the letters to accentuate this “watery” effect that we’re going for (00 min 31 sec). See how easy that was?
Before you learn how to draw Bubble Letters, did you know?
If you think that the regular fonts are boring, welcome to the club. On our website, we’ve got several tutorials that will teach you how to turn ordinary words into true masterpieces. In this particular post, we’re learning the art of the so-called “bubble” letters.
They do kinda look like they were made of soap and water, don’t they? The technique is extremely simple and easy. All you’ll have to do is make them a bit more round and “humpy” than usual. And now you have another cool drawing trick at your disposal!