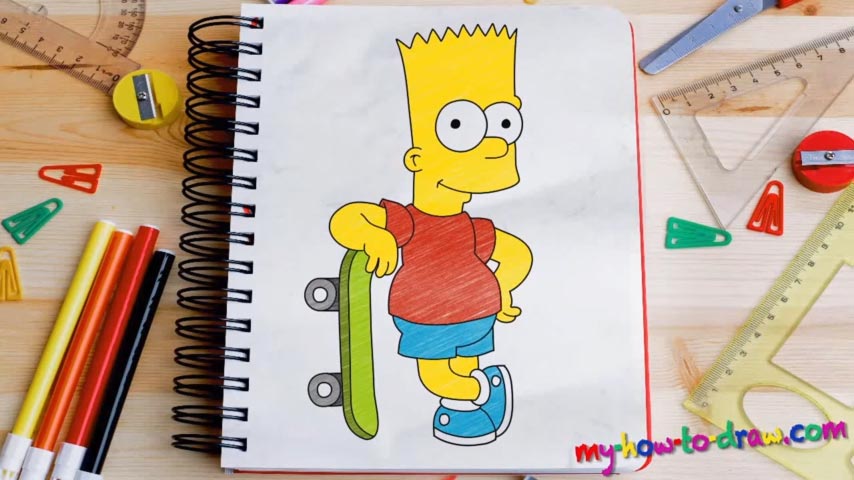
Learn How to draw Bart Simpson Quickly & Easily!
See that sophisticated sketch? You won’t go far without it; so, use light strokes and let’s get to business. Start with the head and cut it into four separate parts (00 min 36 sec). That circle in the lower part of the paper is the body (01 min 06 sec). Don’t try to perfect every single line and curve – that’s not necessary at this stage of the how to draw Bart Simpson tutorial.
Connect the two parts with each other and move on to the legs and the hands. The left hand is the hardest, because he’s leaning on a skateboard with it, and you’ll need to get the angle right (01 min 32 sec). The board itself is just a long rectangular shape, nothing fancy. If everything looks good, use darker strokes for the next step in our how to draw Bart Simpson guide.
Now, because all the features in this drawing are simple, it will be relatively easy to bring this home. The left eye comes first (03 min 44 sec). It’s a combination of two circles (one big, and one really tiny). The nose is just a curvy shape; place the second eye right on top of it. When drawing the head, follow the guidelines on both sides but don’t forget to add the trademark zigzaggy hair on top (04 min 42 sec).
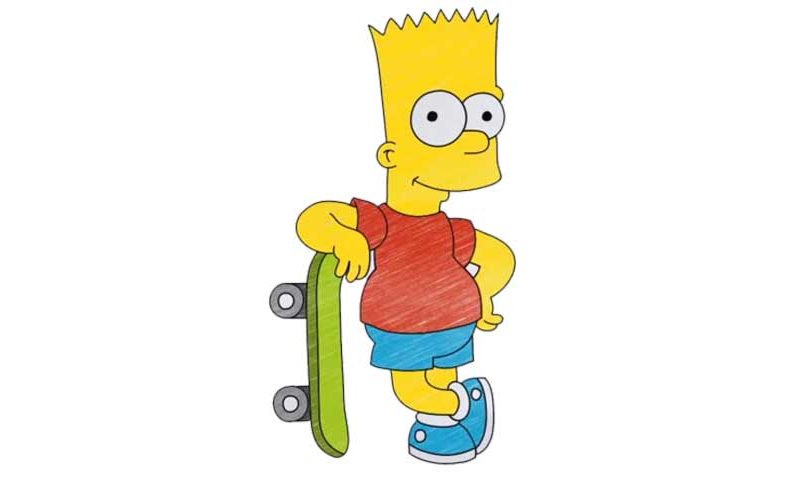
The rest is easy. We spent a lot of time on the rough sketch, and all that’s left to do is use the guides and make the body look more realistic (05 min 21 sec). Don’t forget to add the wheels on the skateboard before you finish this drawing (08 min 54 sec). We could go into more details concerning the hands, the legs, and the body, but, again, it’s all intuitive.
Before you learn how to draw Bart Simpson, did you know?
Bart, AKA “El Barto”, is a key character in the ground-breaking TV show – the Simpsons. The boy has an overachieving, rebellious, scandalous and passionate heart. But he’s also the older brother of two adorable sisters and it’s up to him to protect the girls and keep them from harm’s way.