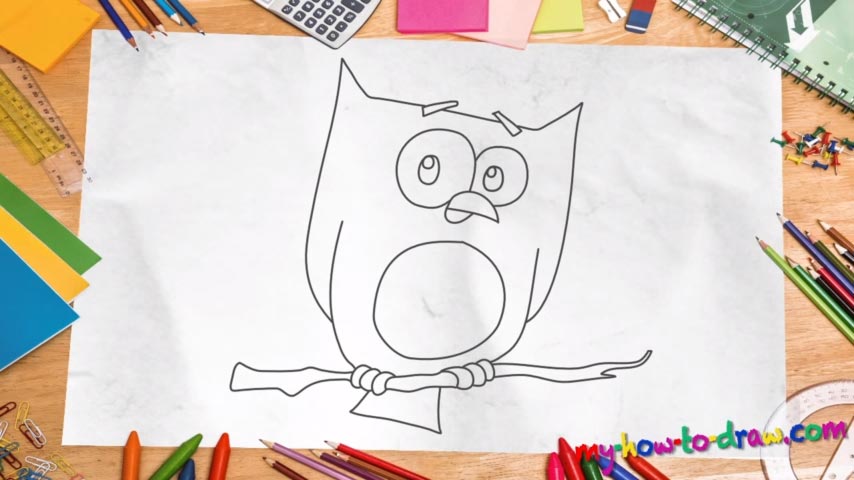
Learn How To Draw An Owl Quickly & Easily!
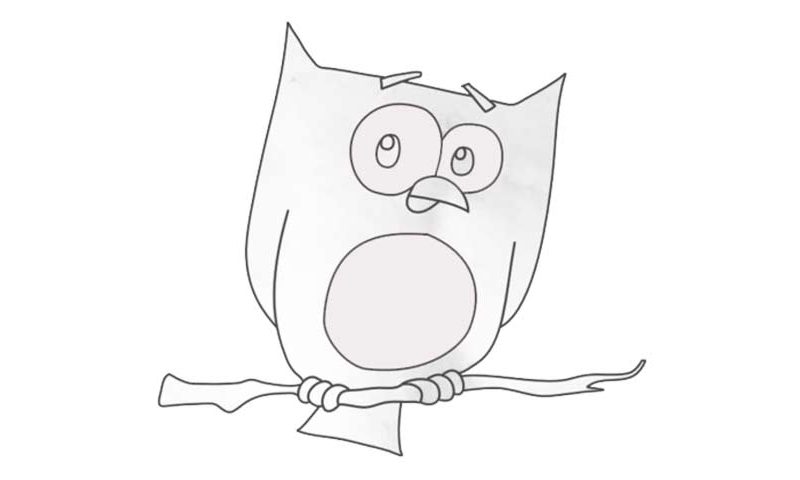
Let’s start this lovely tutorial with the birdy’s beak (00 min 29 sec). You’ll need two simple shapes for that. The eyes follow (00 min 40 sec). The left one is significantly bigger than the right one, even though they are the same on the inside. That’s the intro to this how to draw an Owl tutorial. Now we get to the meat and potatoes, so to speak.
See that huge circle right below the facial features? Go ahead and put it exactly where I did in the video (01 min 05 sec). The eyebrows are kinda funny and look more like a couple of tiny rectangles than actual brows. But they work for this particular drawing; that is why we stick with them. Ok, it’s time to move on to the body (01 min 20 sec).
First of all, add two vertical lines on both sides of the composition. Then, create a horizontal curve with peaky ears on both ends to cover the head. We’re basically done with the how to draw an Owl tutorial at this point. All that’s left to do is add the “fingers” that are holding on to a tree branch (01 min 42 sec). You’ll need six in total. The branch itself shouldn’t be 100% smooth: use chaotic lines to make it look more realistic.
Before you learn how to draw An Owl, did you know?
Owls are truly magnificent creatures. They have a permanent place in all kinds of horror/mystery movies about witches and ancient prophecies. Most owl species eat insects and mammals; some of them hunt, kill and eat fish on a daily basis.
You can find these birds in pretty much every corner of the planet, except some secluded islands, and, of course, Antarctica. Those big, engaging eyes are capable of haunting you in your dreams. And that beak looks like it can tear through anything!