Learn How To Draw A Wolf Quickly & Easily!
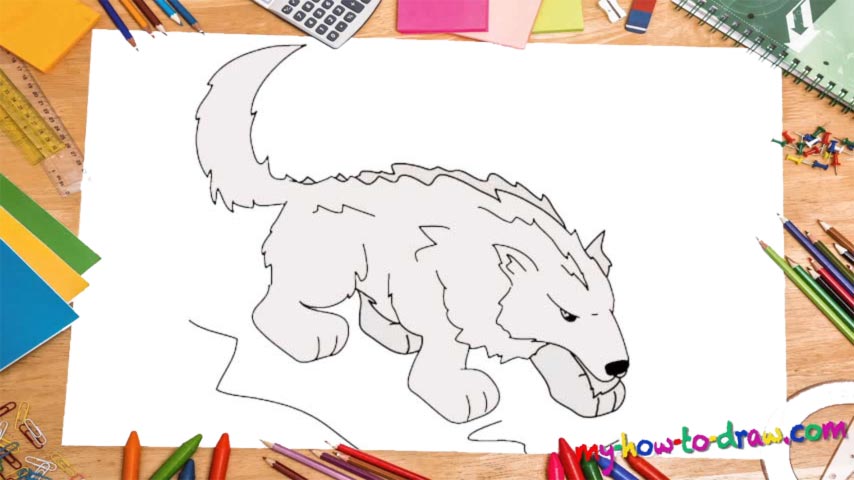
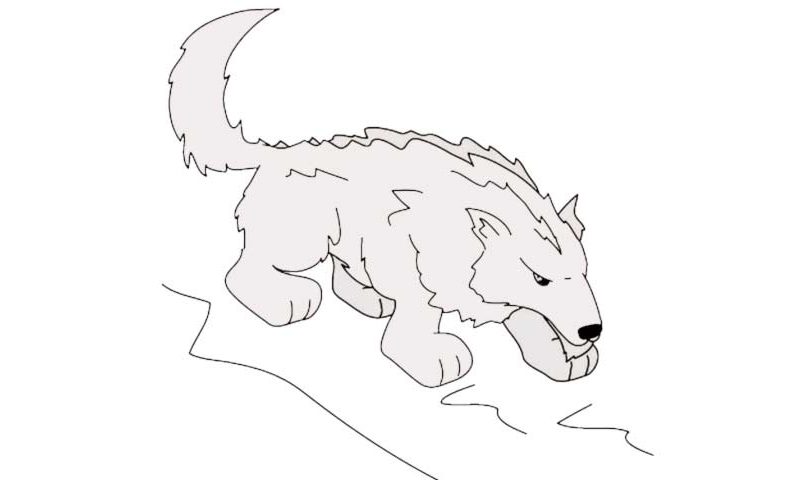
I suggest we start with the right part of the beast and only then move on to the left one (00 min 05 sec). The nose comes first: it’s just a tiny oval shape colored in black. For the body, you’ll need one straight, but short, and one long, but somewhat zigzag-like line to complete. As for the tail, it would be wise to finish this part of the how to draw a Wolf tutorial in one go – it will be easier that way (00 min 16 sec).
It’s super fluffy and looks more like a blade at the end of an ax if you ask me :). Now let’s go back to the nose and work more on the head (00 min 21 sec). Try to be accurate with the lines and follow me closely on the video. The eye is very small but looks great (00 min 24 sec). The wolf has a tiny beard – don’t forget about it! The legs are all identical to each other (but, naturally, some of them are less visible than the others).
They look a bit “robotic”, and that’s ok (00 min 37 sec). The ones on the left side come with straight lines at the bottom and fluffy ones closer to the body. If you’re happy with that part of the how to draw a Wolf tutorial, add another zigzag on top of the predator’s back and create the right ear (01 min 10 sec). The claws and the lines all over the body are the final steps. And don’t forget about the road!
Before you learn how to draw A Wolf, did you know?
Wolves usually travel in packs, but sometimes, the “loners” stick to themselves. With teeth and claws that can rip through human flesh and even bones, these predators are lethal and should never be underestimated. They live in forests and rarely enter our villages.
Only the desperate ones make an attempt to attack and kill humans – usually during the harshest winters. Wolves have a prominent place in the fairytales and are being described as big, bad, awful creatures without a heart or a soul.