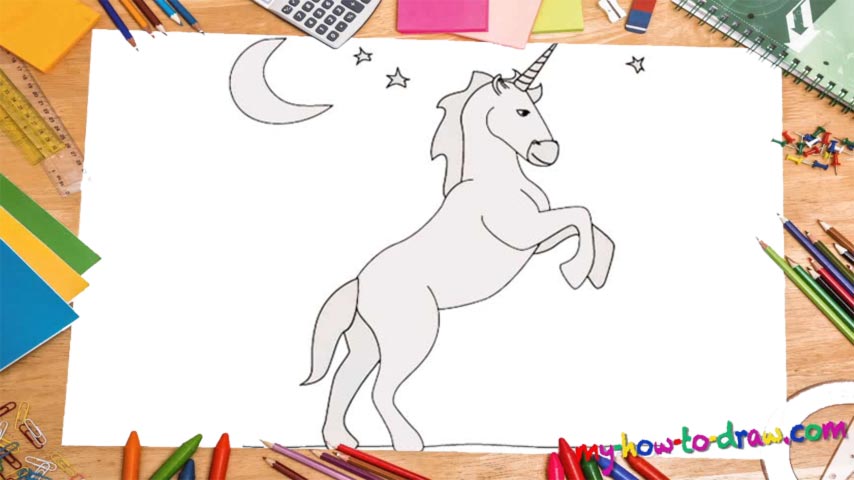
Learn How To Draw A Unicorn Quickly & Easily!
We begin this drawing with the front leg, the mug, and the famous horn on top of its head (00 min 05 sec). Once those are in place, move on to the next step in this how to draw a Unicorn tutorial – the rear leg (00 min 08 sec). Please follow the video closely and try to copy the curves from my example. The legs need to be nice and smooth. Then, use a simple line to connect them to each other.
The tail starts exactly where the rear legs end (00 min 12 sec). It’s very primitive and will be a piece of cake for you. If everything looks good, don’t forget to add the nostrils and the mouth before shaping the animal’s head. Ok, now it’s time for the remaining two legs (00 min 16 sec). Both the front and the rear legs are almost exact copies of the ones we already created. But, because of the angle, they are mostly unseen. Keep that in mind.
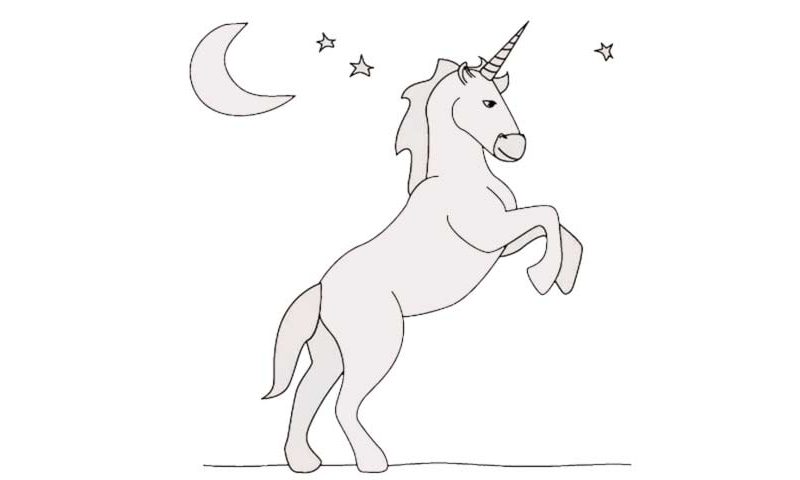
Moving on with this how to draw a Unicorn tutorial, use a smooth line that starts at the top of the tail and reaches the front legs (in height). Next, draw another one that looks like a hook and connects the back to the horn, thus completing the animal’s image (00 min 20 sec). To finish this tutorial, add some stripes on the horn, an ear on the right, a tiny eye, and, of course, that fancy mane (00 min 25 sec). The moon and the stars are optional.
Before you learn how to draw A Unicorn, did you know?
There is no documented evidence that these creatures did actually exist, but the fairytales have made them pretty popular. Unicorns look like horses and have a magical horn that gives them otherworldly powers. They are the good guys and help the princes and warriors.
The Greeks mention these animals in their manuscripts, but, again, no pictures and/or realistic descriptions have ever been found. Furthermore, there are mentions about an angelic creature with a horn in The Bible. What can we say – unicorns rock!