Learn How To Draw A Turtle Quickly & Easily!
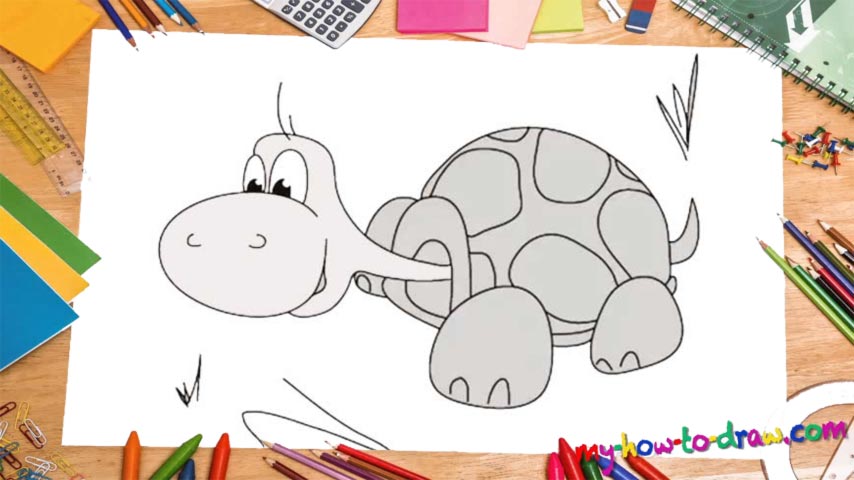
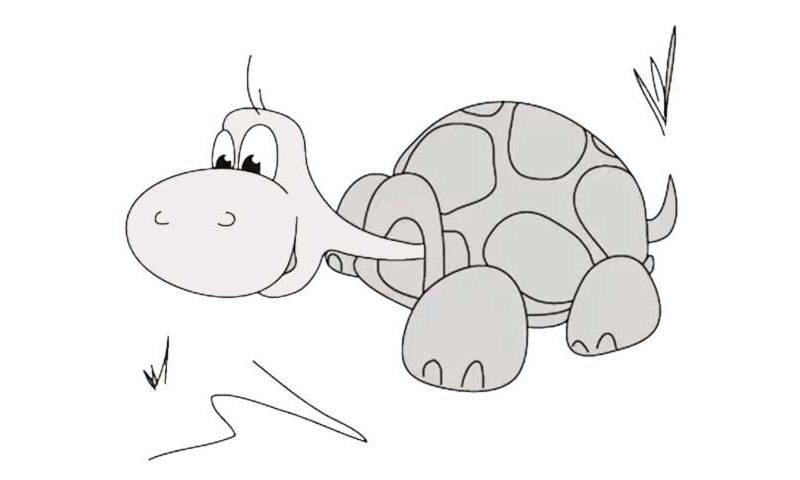
I recommend beginning this tutorial with the reptile’s head that looks like an egg or a tiny stone (00 min 04 sec). The eyes sit directly on top of it (00 min 08 sec). What you’ll need to do next to learn how to draw a Turtle is create a line that looks like a question mark to define the upper parts of the head and the neck (00 min 12 sec).
The lower part is much easier but looks like a reversed copy. If you’re happy with the result so far, add two similar shapes for the side legs (00 min 20 sec). See that “ark” on top of its neck (00 min 25 sec)? It’s there for the mighty shell. Get to it next. There’s nothing complicated about it. Just make sure you get its size right and keep your lines round.
The tiny tail and the front right leg are the next steps in this how to draw a Turtle tutorial (00 min 50 sec). The fingers look alike. So do the nostrils. And before you move on to the texture of our turtle’s shell, add the pupils (01 min 00 sec). The texture is very simple and repetitive – won’t cause you any difficulties. That’s it for our reptile! The rest – the grass and the road – are just there to add some momentum.
Before you learn how to draw A Turtle, did you know?
Except for the legendary Teenage Mutant Ninja Turtles, these cute reptiles aren’t really that popular in mass culture. However, they are truly marvelous and have been around ever since the dinosaurs used to rule over our planet. Yep, they are very ancient.
In fact, the scientists believe that some turtle species lived 150-160 million years ago! With a shield that protects them from the predators, the turtles love to stick around the beaches with instant access to water. Unfortunately, they are an endangered kind.