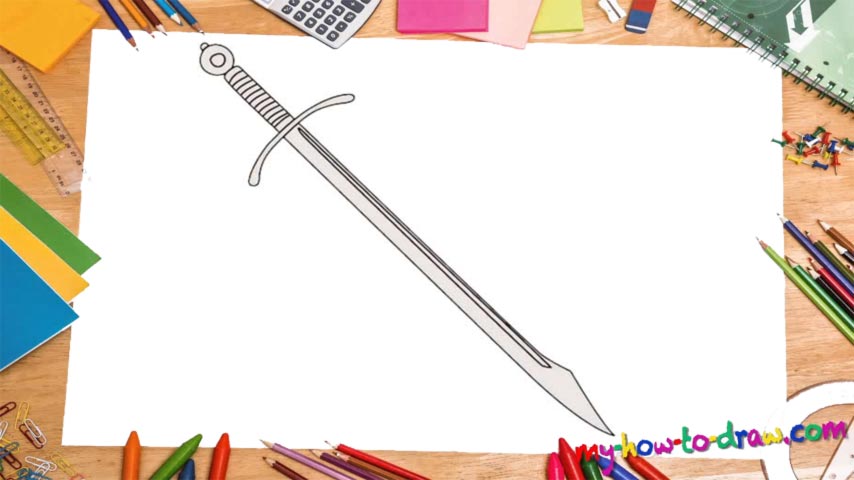
Learn How To Draw A Sword Quickly & Easily!
This isn’t one of the hardest video guides on our website, as it mostly comes with straight lines. However, you shouldn’t treat it lightly – there’s a lot you can learn from this how to draw a Sword tutorial. Ok, let’s start with the handle, shall we (00 min 05 sec)? The sword comes next (00 min 08 sec). Create two straight and parallel lines but twist them just a bit at the end, because the tip should be nice and sharp.
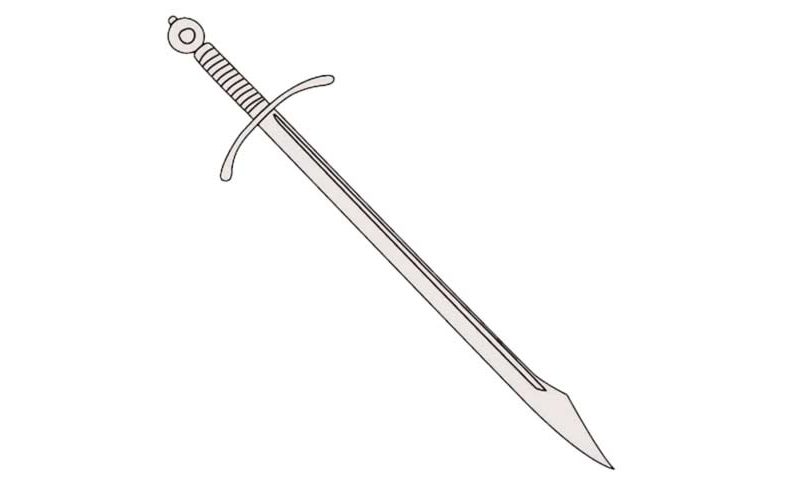
Put a line between the two at the bottom of the paper to complete the tip (00 min 12 sec). Alright, now we get back to the handle and work more on it. Basically, you’ll just need to make the lines you just put in a little bit longer on the other side (00 min 16 sec). Once that’s in place, the sword is pretty much done. But it’s the details that will turn this how to draw a Sword tutorial into the real thing.
See that thin line in the bottom (00 min 20 sec)? It’s the next step. The fancy circle inside a circle at the top looks great (00 min 25 sec). Finally, go ahead and draw a series of similar lines that will complete this cold weapon’s image that I had in the beginning. Now we’ve got a proper sword in our hands!
Before you learn how to draw A Sword, did you know?
Before mankind invented guns, machine-guns, and rocket launchers, swords were the only means of defense, along with the bow and arrow. And while it didn’t take much time and/or skills to create an average weapon, an “elite” sword required weeks of hard work.
The kings had the fastest, strongest, and most beautiful swords at their disposal; same goes for their personal guards. In the middle of the battlefield, the quality of a warrior’s weapon could very well make it or break it for him/her. These days, swords are only being made for the movies.