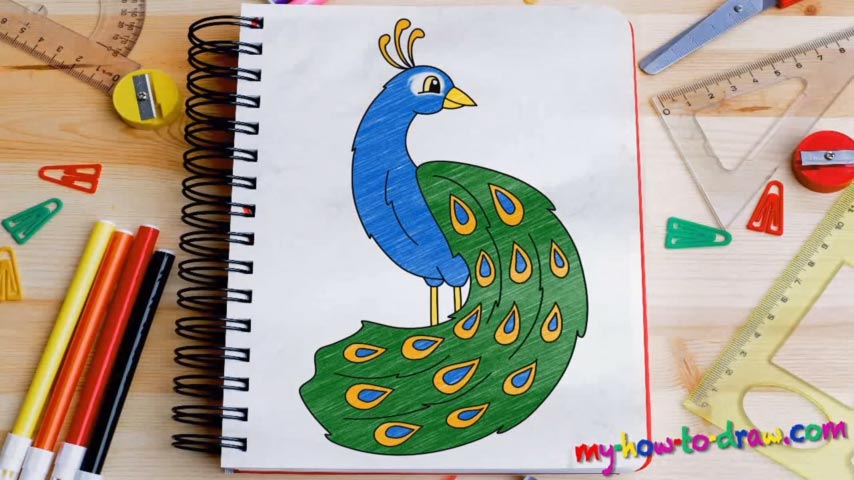
Learn How to draw A Peacock Quickly & Easily!
Whenever you’re drawing something a bit more complicated than stick figures, a rough sketch is imperative. After you go through a dozen of videos on our website, this will become an automatic part of the process. If you want to learn how to draw a Peacock, you’ll need to get the proportions right, and the guiding lines will help you with that.
In this particular case, the sketch is pretty easy. Begin with the tiny circle in the top corner (00 min 39sec). Once you’re done with the head, create a huge S-like curve that reaches the very bottom of the paper (00 min 52 sec). Two more curves are all it’s going to take you to finish the guides. The next stage of the how to draw a Peacock tutorial is the real deal.
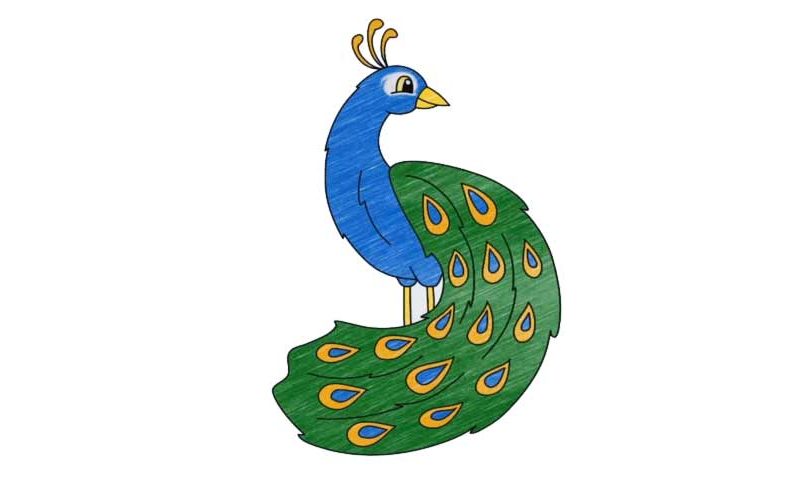
Use darker strokes to draw the eye (01 min 35 sec). The beak comes next (01 min 59 sec). Let the rough sketch guide you and shape the birdy’s body (02 min 19 sec). Basically, you’ll need to go over the light strokes, but the curves will have to be more accurate. At the same time, make sure to give the body the right “cut” touch to accentuate the feathers.
Don’t forget about the tiny legs (03 min 08 sec). Next, draw the crest on top of its head. If you’re happy with this part of the how to draw a Peacock tutorial, then it’s time for the beautiful pattern all over its tail. Looks pretty awesome, doesn’t it (03 min 48 sec)?
Before you learn how to draw A Peacock, did you know?
This creature is quite fascinating. If you’ve seen one at the zoo, then you know exactly how majestic it looks in real life. It’s got the best feathers in nature and the eyespot marks are capable of mesmerizing and enchanting. By the way, the females aren’t nearly as beautiful as the males, which is a very rare thing on planet Earth.