Learn How To Draw A Monkey Quickly & Easily!
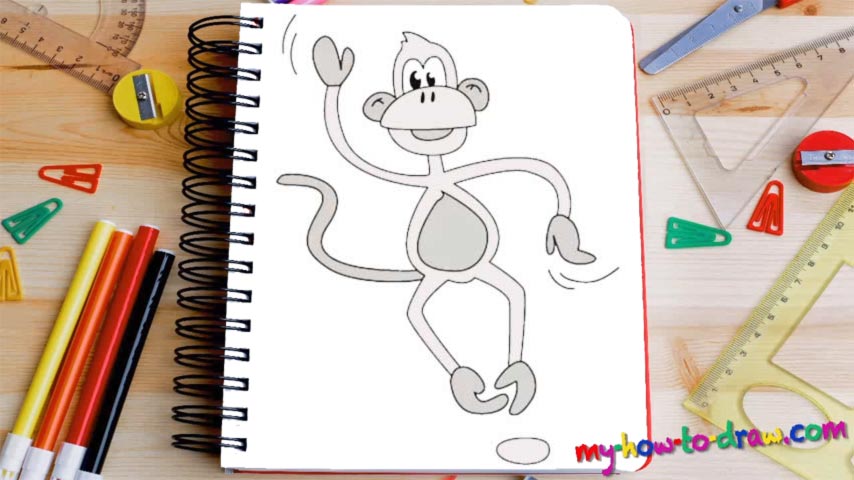
Let’s start with the lower jaw/nose (00 min 05 sec). The mouth follows (00 min 08 sec). If you did everything right, your drawing must look like a seashell or a mushroom of some sort. The next step in this how to draw a Monkey tutorial are two identical yet opposite C-like curves for the hands (00 min 12 sec). Duplicate those to make the hands thicker.
See those lines that look like brackets (00 min 20 sec)? These curves shape the body and the legs of our character. So, treat them with due respect. Use one simple shape to divide the legs from the body and add the tail (00 min 28 sec). It looks like a reverses “S”, by the way. If you’re satisfied with the result right now, go back to the top of the drawing to complete the head of our monkey (00 min 32 sec).
It’s got two ears, two eyes, and two nostrils. Follow the how to draw a Monkey video guide and put all those tiny-yet-important details in to make the end result that much more realistic (00 min 40 sec). The hands and the paws look almost the same and are quite simple in general (00 min 48 sec). To finish this fine tutorial, draw a stone at the very bottom and a couple of lines next to the hands to emulate the wind (00 min 56 sec).
Before you learn how to draw A Monkey, did you know?
As far as the most popular animals in mass media go, monkeys are right there among the leaders. Overall, there are 260+ species living on planet Earth (known to man), and some of them prefer to live on the trees rather than on ground like the rest of the creatures.
Furthermore, they are considered to be one of the most intelligent beings in the world and many scientists believe that we are their direct descendants. There are two major breeds of monkeys: the so-called “Old World” monkeys and the “New World” monkeys.