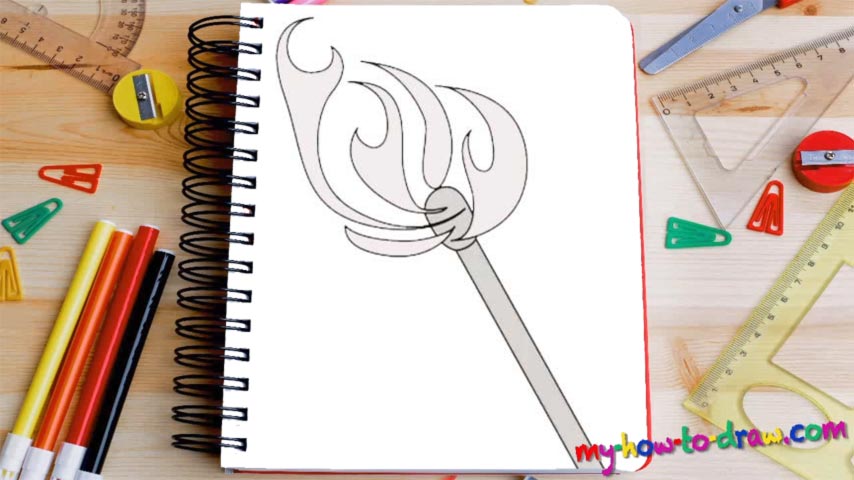
Learn How To Draw A Match Quickly & Easily
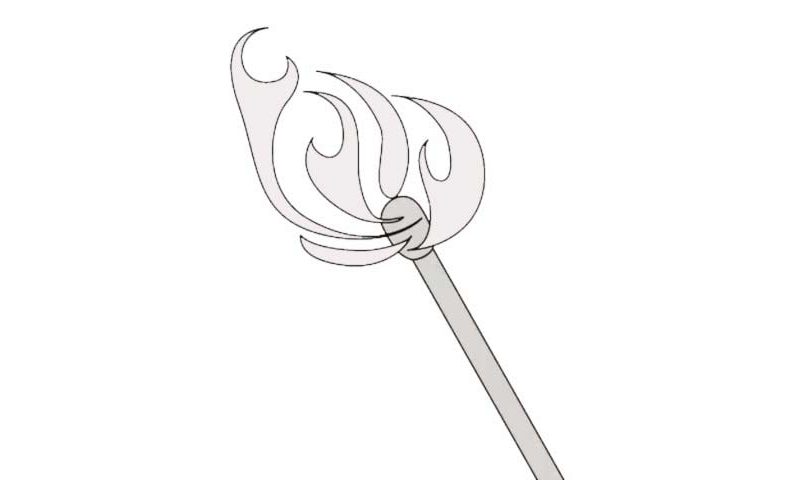
Without a doubt, this is one of the most “accessible” tutorials on our website. It’s easy enough to handle and comes with a few useful tricks. So, if you want to learn how to draw a Match, follow my guide. I recommend splitting the fire into separate parts so that it will be easier for us to create a realistic drawing; divide and conquer, right (00 min 05 sec)?
The first one on the right is your regular flame without any sophisticated edges. Follow the video and bring this home. The flame at the very bottom is a piece of cake – just one simple shape that will take a second to complete (00 min 08 sec). As for the third one, it’s the biggest flame in this tutorial and looks like a wrench (00 min 12 sec).
The fourth one is a combination of all the previous flames (00 min 16 sec). The last part is a water drop (00 min 22 sec). The “head” is the next step in this how to draw a Match guide. It’s positioned at the bottom of all the individual parts and has a super-long “stick” that reaches the very bottom (00 min 28 sec). Once it’s in place, you can say that you’ve mastered this tutorial!
Before you learn how to draw A Match, did you know?
Have you ever heard the expression – don’t let the kids play with the matches? This is a human-made tool, which means it’s equally essential and dangerous. Back when we didn’t have stoves with fancy firing up techniques, the matches were big-time life saviors.
By the way, do you know when our kind first developed them? According to the historians, that happened back in 950, when one of the most powerful Chinese dynasties learned how to use sulfur for this purpose. Yep, matches have been around for more than 1000 years!