Learn How To Draw A Fish Quickly & Easily
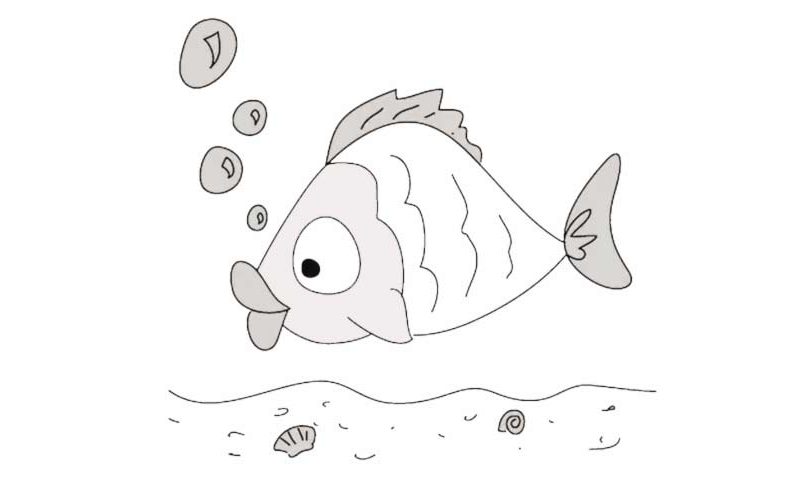
Let’s start with our sea friend’s huge lips (00 min 04 sec). Once they are done, use a curve that looks like a mountain of some sorts for its back (00 min 12 sec). The tail is the next step in this how to draw a Fish tutorial. Doesn’t it resemble a half moon a bit? Because of the angle, we can see only one eye in this drawing (00 min 20 sec).
It’s pretty big and has a tiny pupil in the bottom left corner. The fin right below it is very simple and connects to the lower lip with one short line (00 min 28 sec). Use another curvy-yet-longer line from the fin to the tail to complete the body (00 min 35 sec). See those “waves” all over the guy? If you’re happy with the rest of the drawing, take care of them next.
You’ve got four in total and they come in different sizes. The next parts of this how to draw a Fish tutorial are located inside the tail and on top of its back (00 min 52 sec). Those “rocks” above the fish are actually the drops of air coming out of its mouth (01 min 01 sec). Add the snails at the bottom of the paper if you want more realism. Ok, that’s actually it for today!
Before you learn how to draw A Fish, did you know?
If it’s living in water and has no limbs with digits, then it’s most definitely a fish. Overall, there are more than 33,5K species of fish on planet Earth (known to man), and they are one of the most diverse creatures in the world, along with some insects that stick to soil.
People use fish as bait for bigger fish and really love to have them as pets at home. Plus, our kind has numerous recipes that involve these sea dwellers. The doctors claim that in order to stay healthy and fight off nasty diseases, every single human being needs to eat fish.
