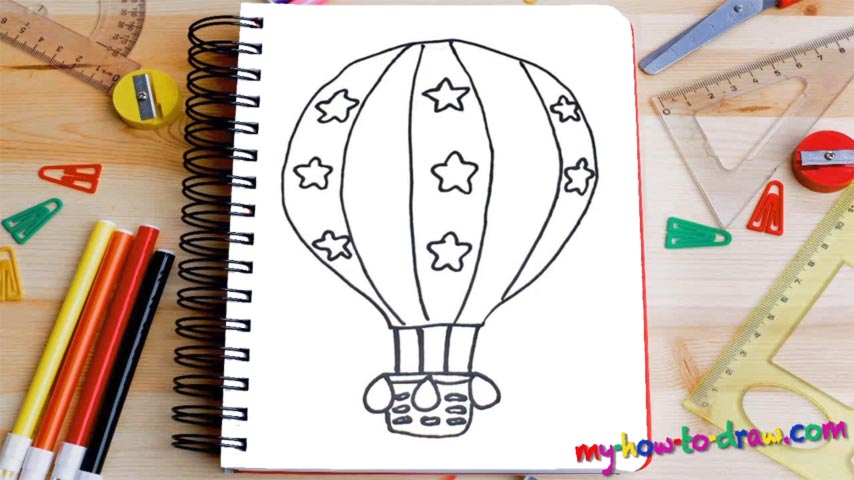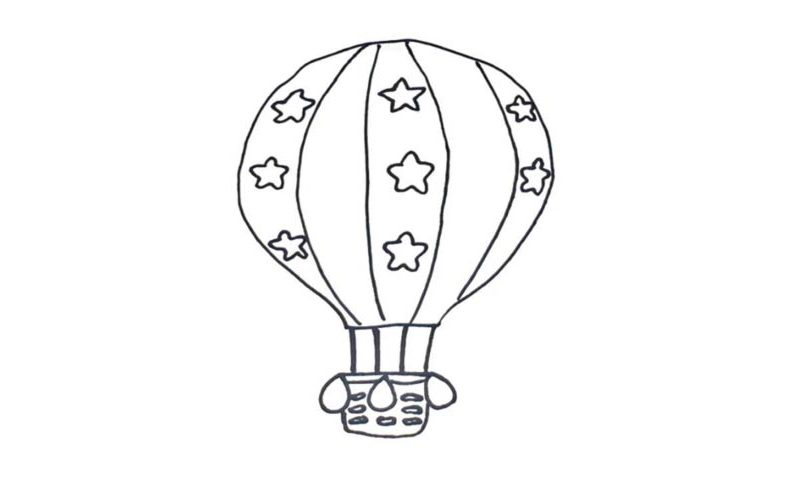
Learn How To Draw A Balloon Quickly
We begin with the main body of this tutorial – the huge balloon itself (00 min 06 sec). It looks like a circle that turns into a lightning bulb thanks to the twist at the bottom. Once you’re done with the intro to this how to draw a Balloon video guide, move on to the four cables that are holding the metal “box” where the passengers are supposed to stand (00 min 26 sec).
You’ll need simple black lines for this – nothing fancy. See those three tiny ovals hanging just below the cables (00 min 45 sec)? Get to them next and make sure their sizes are equal. Ok, now it’s time to add the box (00 min 57 sec). It’s pretty tiny, especially compared to the huge balloon, but that’s exactly how it is in real life. The box is one of the easiest parts of this how to draw a Balloon tutorial and comes with a series of tiny rectangles.
After you put them in, go back to the balloon and let’s work a bit on its texture (01 min 33 sec). Overall, I’ve got four vertical lines covering it – do the same. The final step includes drawing three stars in the left corner and the middle (the right side has only two) (01 min 54 sec). That’s it!
Before you learn how to draw A Balloon, did you know?
When we’re little, a thrilling adventure is the greatest thing for us. But when we grow older and have our own children, that brightness in our eyes fades. Thankfully, the modern-day world is full of awesome services that can bring us back to the old days and help us have some fun.
How about flying on a balloon? This huge air vessel looks and feels 100 times better than a regular plane and will take your breath away. If there is a significant other in your life, make sure you take him/her on this journey with you. Satisfaction is, without a doubt, guaranteed!