Learn How to draw A Campfire Quickly & Easily!
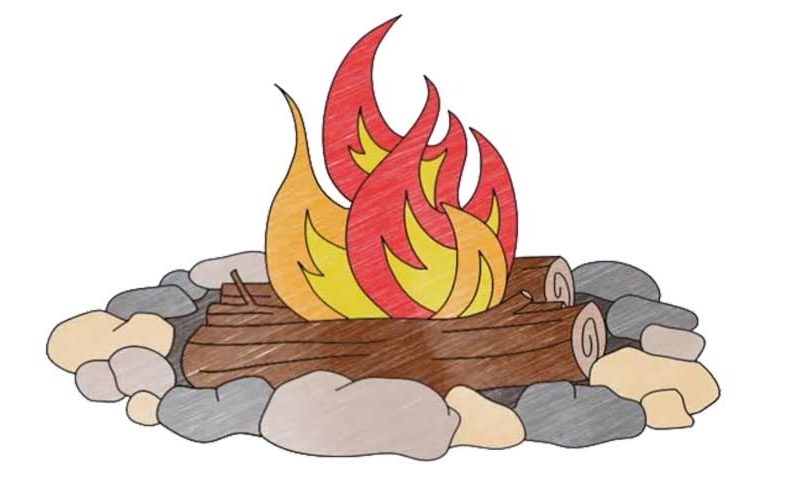
This composition consists of three parts: the flames, the wood, and the stones. They are the very foundation of this how to draw a Campfire tutorial. Start with creating a big oval shape at the bottom that will represent the stones (00 min 37 sec). The rectangular shapes inside of it represent the wood (00 in 48 sec). The next and final part of the rough sketch are the flames (01 min 14 sec).
Use simple-yet-curvy lines to imitate the fire. Don’t try to be super-accurate about them; at the same time, it’s important to get the sizes and the positions right so that you won’t have to go back to this stage and fix something that you can deal with now. Once everything is in place, switch to darker strokes. The stones around the fire come next (02 min 21 sec).
Now, you should follow the video closely and try to make them look like the ones in my example, but don’t go for a 100% match. The video is a good reference, though, and if you really want to learn how to draw a Campfire, you should strive for perfection. Basically, create stones of different shapes and sizes and put them next to each other. If the foundation looks good, get to the logs (03 min 40 sec).
Draw the big log and immediately switch to the flames (04 min 22 sec). First, simply follow the guidelines. After that, add more tiny flames inside of the already existing ones. Happy with the result? Then finish up with the wood and create even more stones that go all the way to the “back” of the fire (06 min 38 sec).
Before you learn how to draw A Campfire, did you know?
We love campfires because they give us a chance to get together, sing, dance, drink, and have an awesome time. Friends gather around them, crack jokes, and tell scary stories. If you’ve ever experienced this amazing atmosphere, then you already know what it’s all about.
