Learn How to draw Spiderman Quickly & Easily!
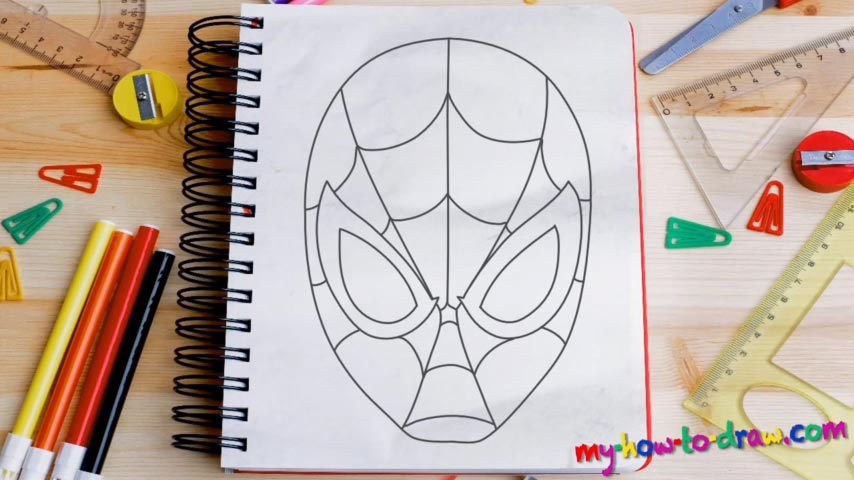
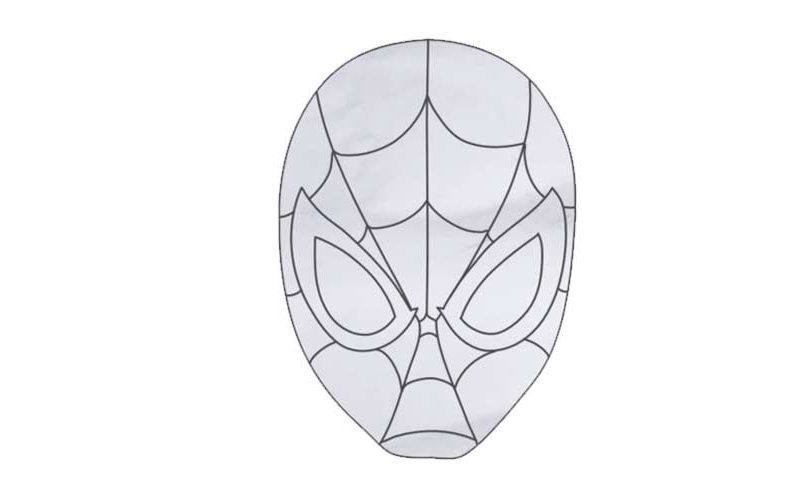
In this particular tutorial, we’re only dealing with the head, which means you don’t have to worry about the hands, the legs, and the entire body. Still, Spidey looks good! Ok, let’s learn how to draw Spiderman: first of all, add the eyes (00 min 30 sec). They take up a lot of space and look identical to each other. You could say that this hero’s eyes are his trademark feature, especially in the classic comic books.
The next stage is the head (01 min 08 sec). Even though this is a cartoon character, the head looks exactly right (like it belongs to a human being, that is). Take care of the upper part first. Start at the tip of the left eye and move all the way to the right. It should be a perfect half-circle without any rough parts. The lower half is relatively easy and forms a firm jaw at the bottom (01 min 20 sec).
If you’re happy with this how to draw Spiderman tutorial so far, move on to the final part – the texture of his mask (01 min 30 sec). You’ll need five vertical lines first. Then, it will be just a matter of adding tiny curves all over the place to imitate a spider’s web. Don’t get too excited about this pattern and follow the video-guide to know exactly what to do.
Before you learn how to draw Spiderman, did you know?
As far as the greatest Marvel superheroes go, this guy is right there among the best. An icon and a legend, Spiderman has been in our hearts since 1962. Peter used to be just another regular guy trying to make it as a student in Queens.
However, after a radioactive spider bit his hand, it gave the young man the ability to walk on walls, jump higher than ever and an unbelievably strong body. It took him a while to get used to this new reality, but once he made sense of it all, Parker turned into Spiderman – a true hero who risks his life to save others.